Curate Activity
This is the instructions page for the Curate activity. An overview of the card deck and all other activities can be found here.
Purpose
If you are facing the challenge of organising a large collection of visualisations or selecting a subset of visualisations. This activity can help a group with organising and curating a selection (e.g. for an exhibition or book).
Getting started
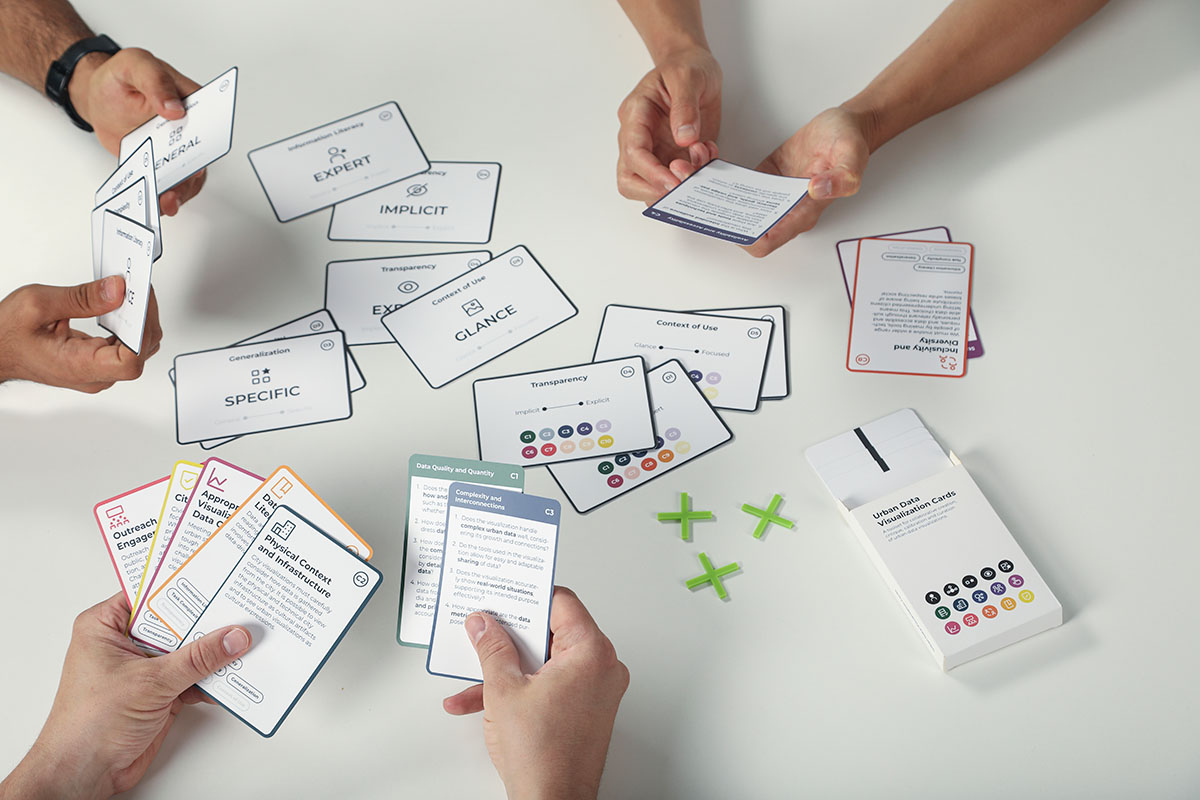
- If you are short on card-decks, we also have a digital version you can use in online collaboration apps.
- To kick things off use our UDV introduction slides (see downloads).
- You will need workshop materials (pencils, postIts, paper, etc).
- We recommend groups of max. five people. If working with larger groups split the groups up (more card decks required).
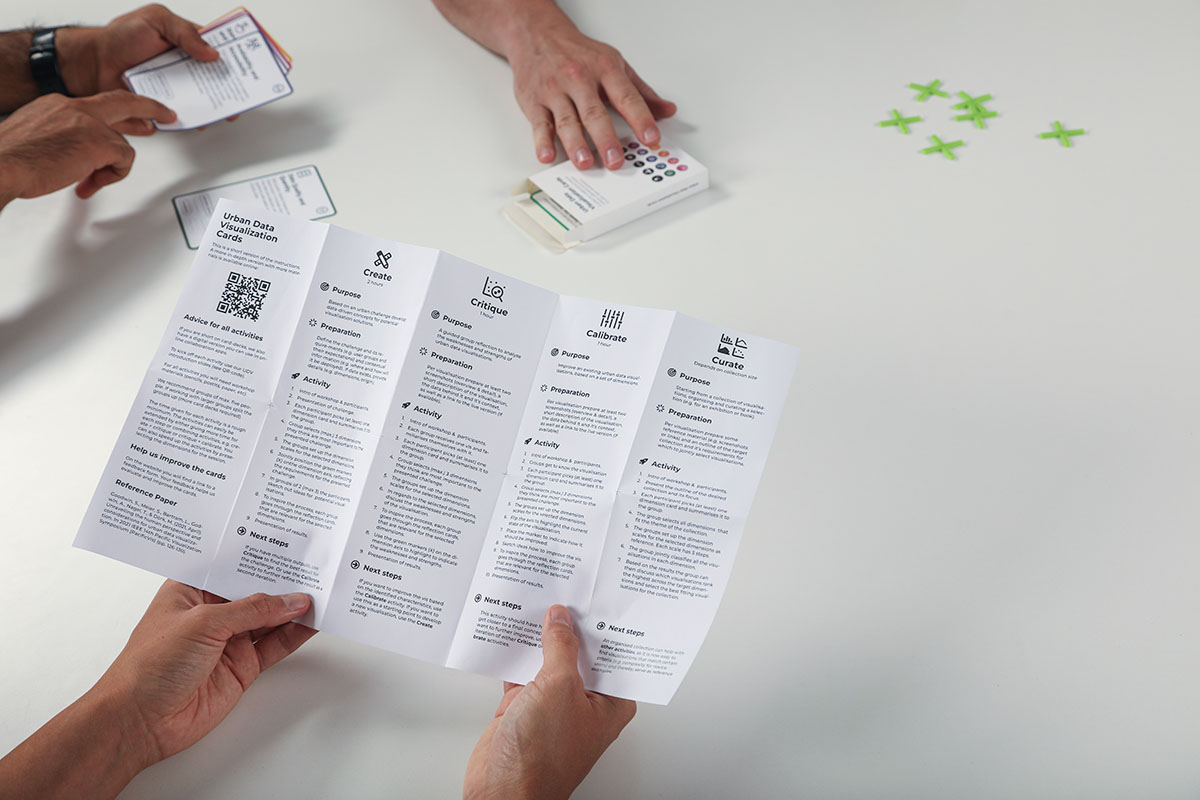
- The time given for each activity is a rough minimum. The activities can easily be extended by either giving more time for each step or combining activities, e.g. create + critique or critique + calibrate. You can also speed up the activities by preselecting the dimensions for the session.
Preparation
Per visualisation prepare some reference material (e.g. screenshots or links) and an outline of the target collection and it’s requirements for which to jointly select visualisations.
Activity schedule
1. Introduction
As the focus of the activities is to collaboratively solve the tasks, start by introducing the activity participants to one another. Follow up by introducing the workshop concept. We have some slides prepared you can use.
2. Present Collection
Present the outline of the desired collection and its focus. Discuss the intended use, audience, context, etc. Make sure that there is agreed upon understanding of the bigger. Which is important for the next steps.
3. Dimensions overview
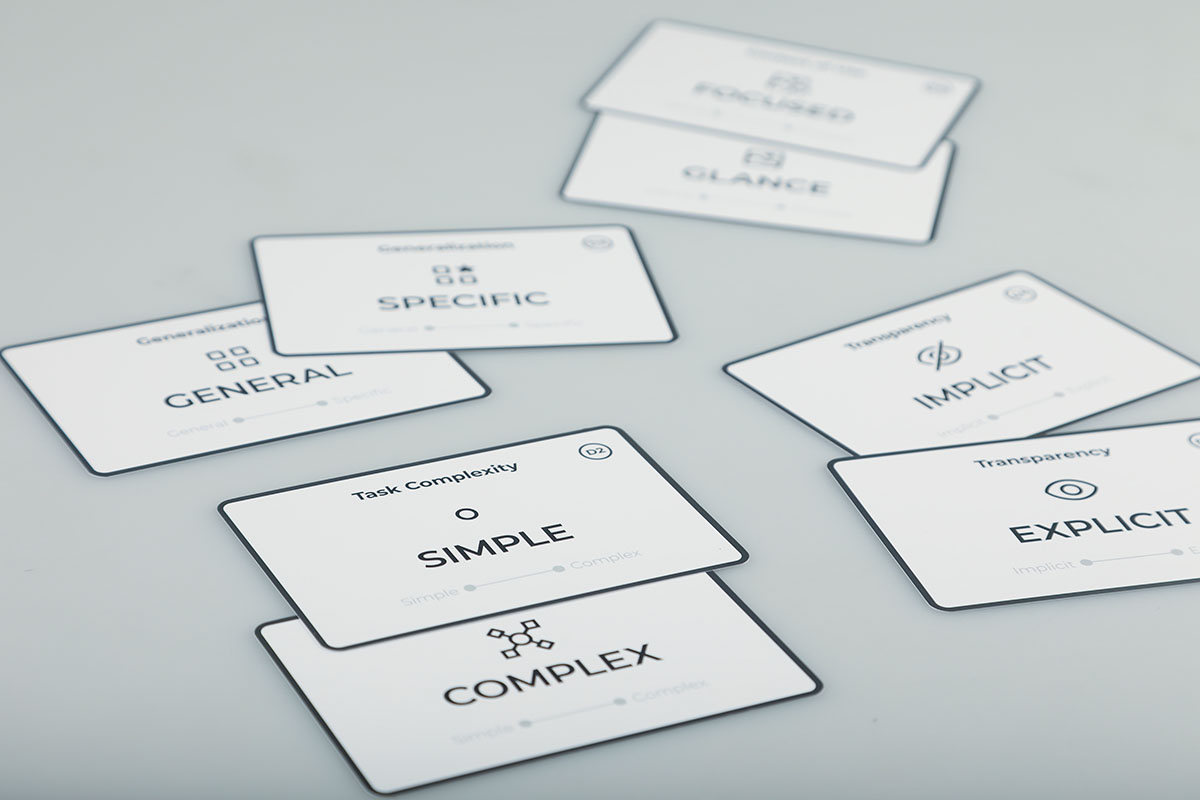
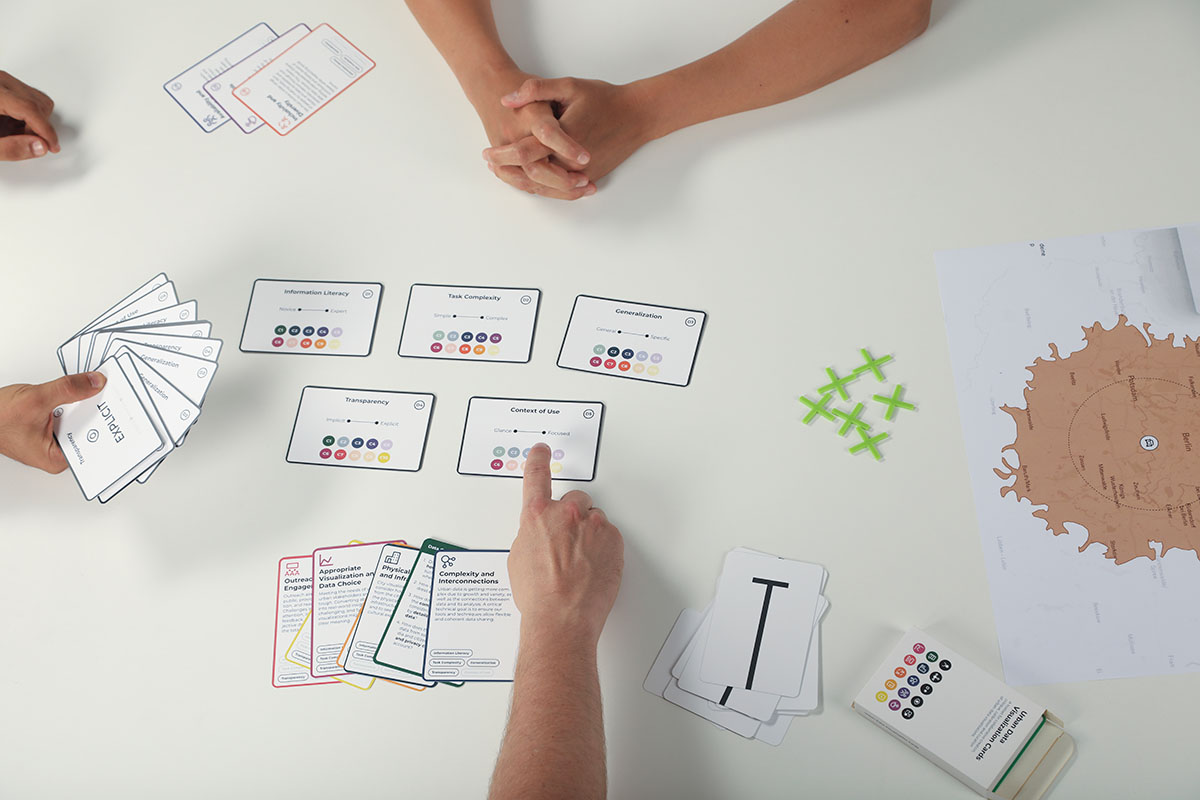
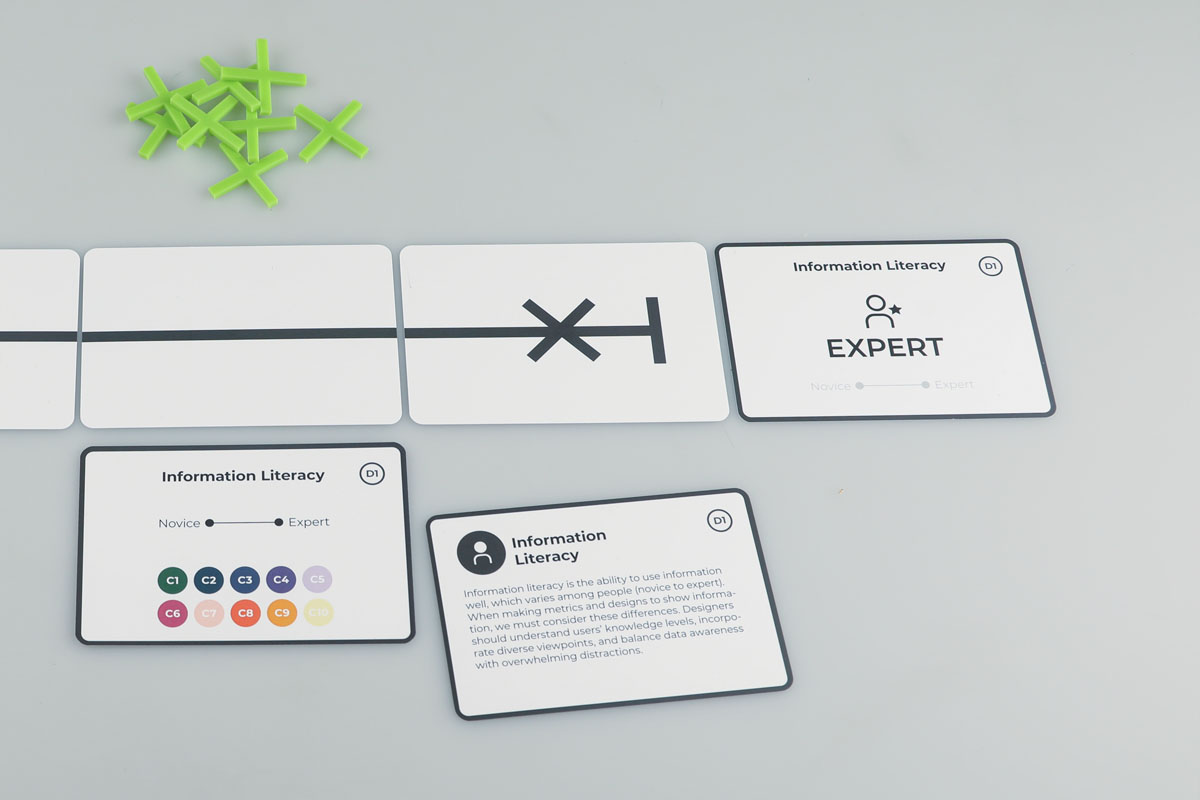
Each participant picks (at least) one dimension card and summarises it to the group. For each dimension there is an overview card, highlighting connected considerations as colored circles and a description on the back. In addition two cards for the two extremes of the dimension.
4. Dimension selection
The group selects all dimensions that fit the theme of the collection. Be aware that the more dimensions are selected the more time the overall activity will require.
5. Scale setup
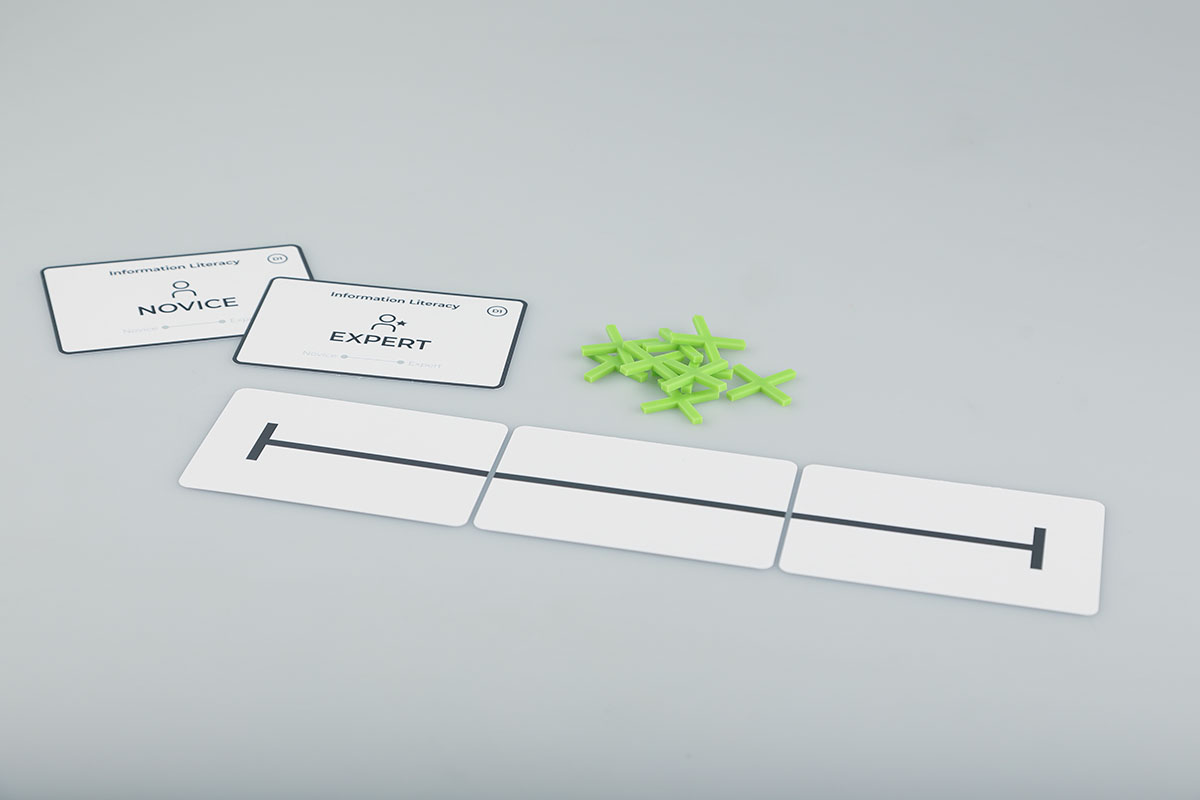
Unlike the other activities the scales coming as cards are not being used. Instead, the groups only set up the dimension scales for the selected dimensions as reference. The scales that will be used for the classification of the visualisations have 5 steps.
6. Classification
The group jointly classifies all the visualisations in each dimension (using the 5-setp scales). Use a big sheet of paper to write down the results of the classifications.
7. Reflection cards
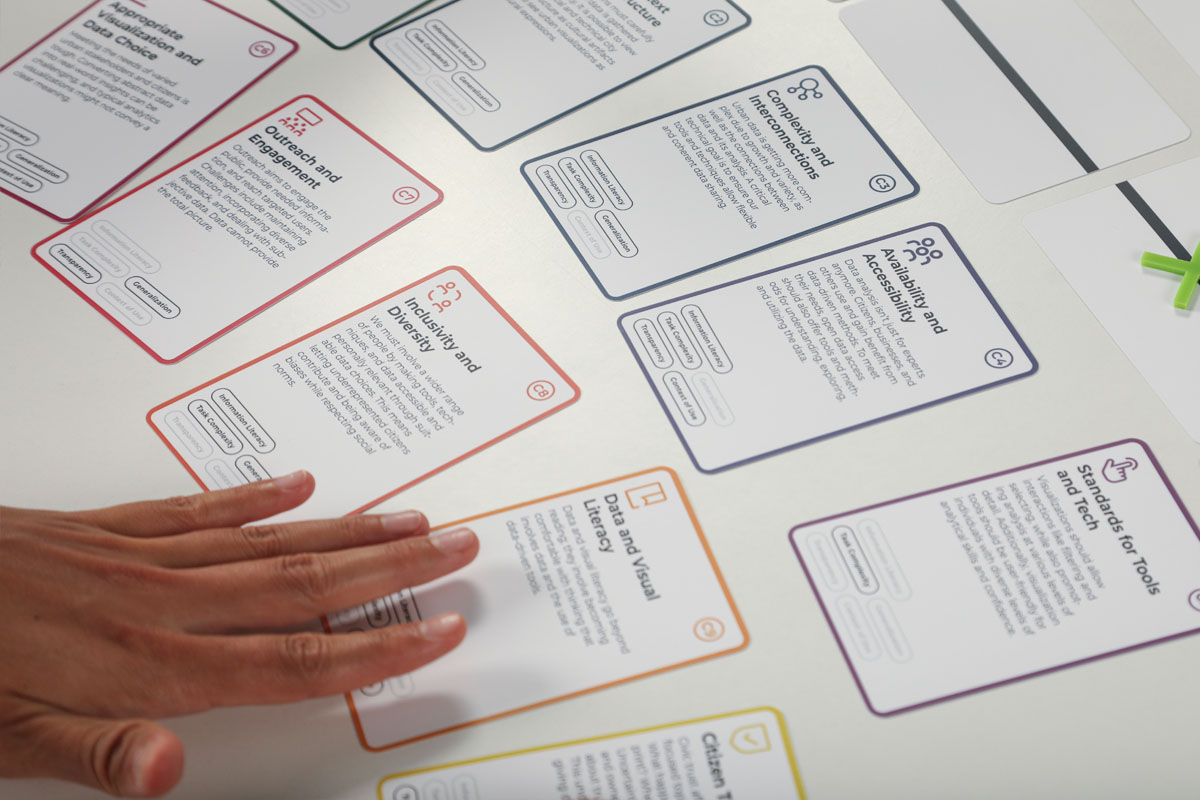
To inspire the process, each group goes through the reflection cards, that are relevant for the selected dimensions. On the dimension overview cards the colored circles highlight which consideration cards are relevant for each dimension.
8. Selection process
To finish up, based on the results the group can then discuss which visualisations rank the highest across the target dimensions and select the best fitting visualisations for the new collection.
Next Step
An organised collection can help with other activities, as it is now easy to find visualisations that match certain criteria (e.g. complexity for novice users) and thereby, serve as reference examples.
