Critique Activity
This is the instructions page for the Critique activity. An overview of the card deck and all other activities can be found here.
Purpose
If you are updating or revising an existing urban visualisation, the critique activity can help you with a guided group reflection to analyse the weaknesses and strengths of an existing urban data visualisation.
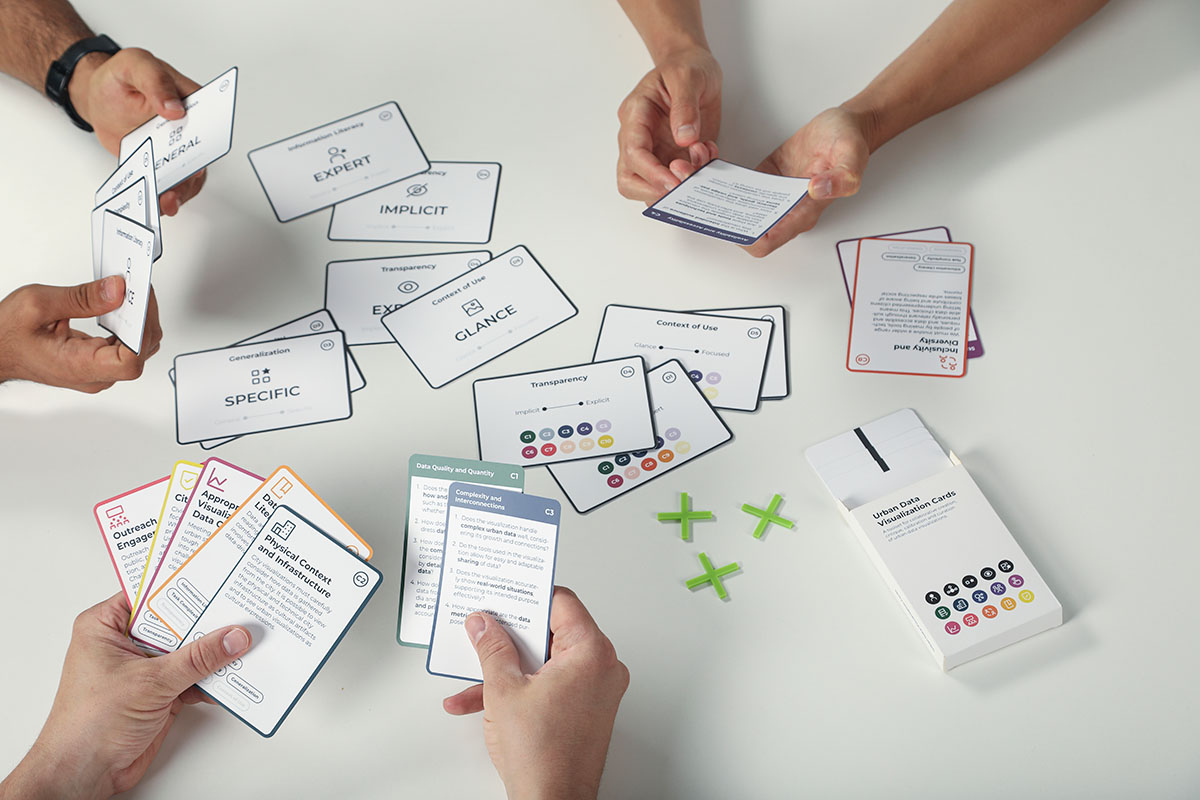
Getting started
- If you are short on card-decks, we also have a digital version you can use in online collaboration apps.
- To kick things off use our UDV introduction slides (see downloads).
- You will need workshop materials (pencils, postIts, paper, etc).
- We recommend groups of max. five people. If working with larger groups split the groups up (more card decks required).
- The time given for each activity is a rough minimum. The activities can easily be extended by either giving more time for each step or combining activities, e.g. create + critique or critique + calibrate. You can also speed up the activities by preselecting the dimensions for the session.
Preparation
Per visualisation prepare at least two screenshots (overview & detail), a short description of the visualisation, the data behind it and it’s context, as well as a link to the live version (if available).
Activity schedule
1. Introduction
As the focus of the activities is to collaboratively solve the tasks, start by introducing the activity participants to one another. Follow up by introducing the workshop concept. We have some slides prepared you can use.
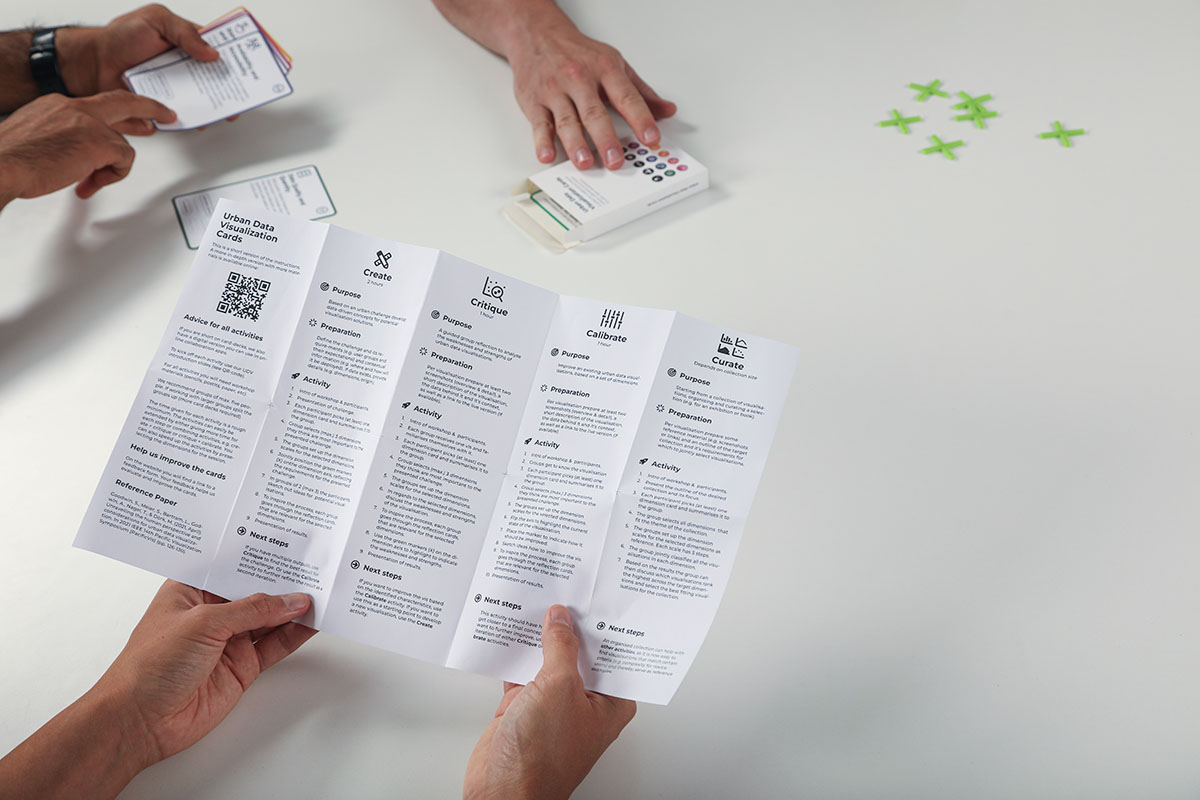
2. Existing Visualisation
Each group receives one visualisation and familiarises themselves with it. Highlight requirements, context, targeted audiences, data, etc. (see Preparations).
3. Dimensions overview
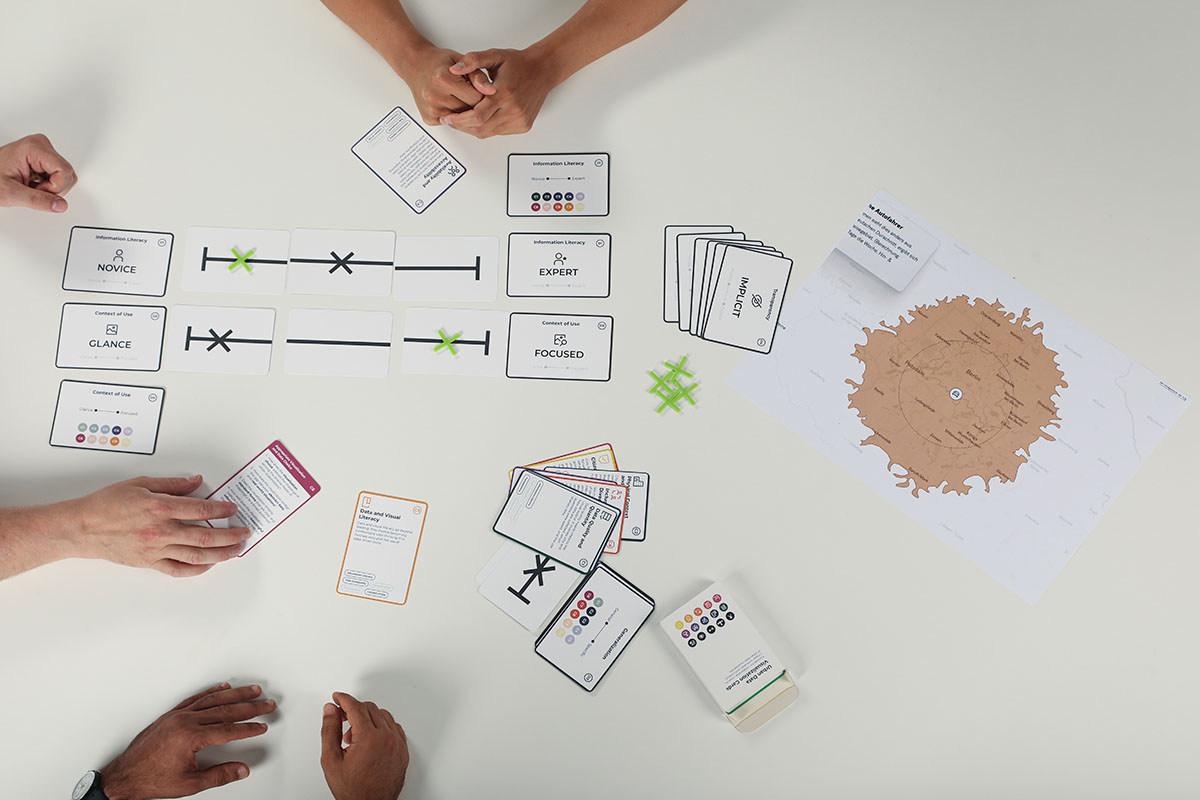
Each participant picks (at least) one dimension card and summarises it to the group. For each dimension there is an overview card, highlighting connected considerations as colored circles and a description on the back. In addition two cards for the two extremes of the dimension.
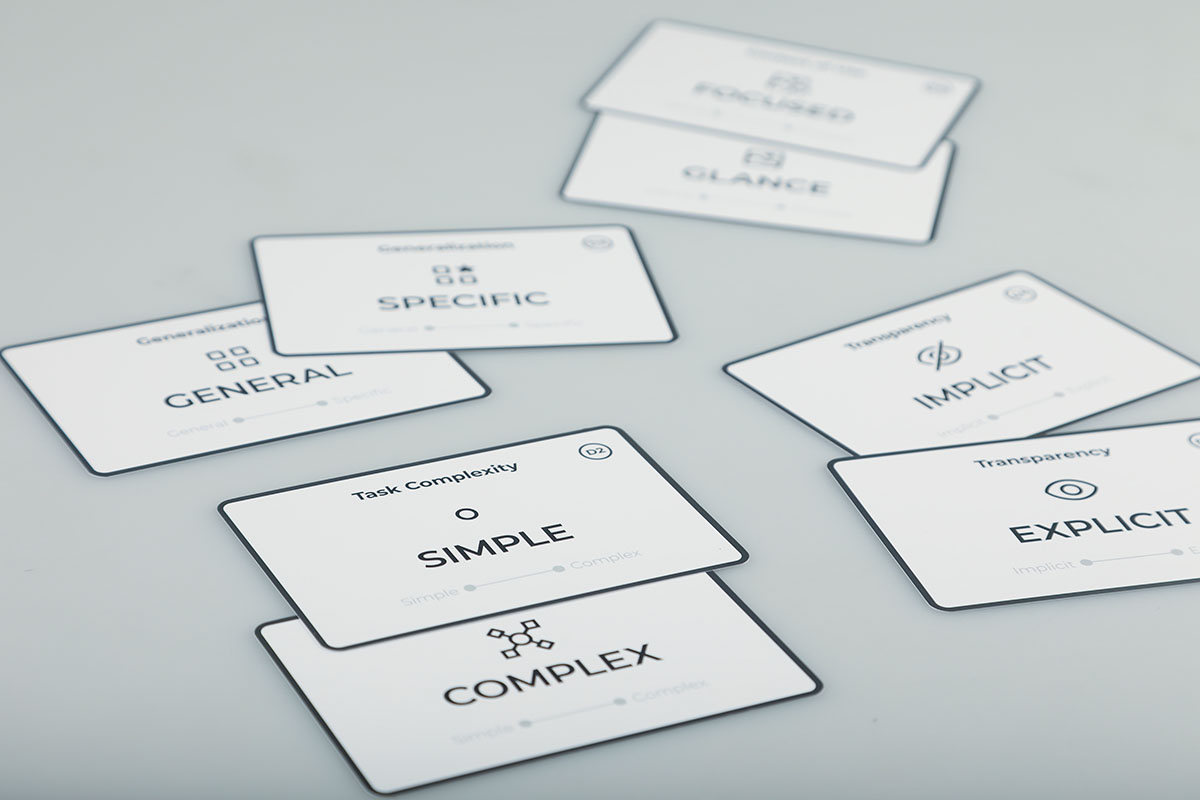
4. Dimension selection
Group selects (max.) 3 dimensions they think are most important to the presented challenge. This step can take up quite some time. If time is limited preselect the dimensions and skip this step.
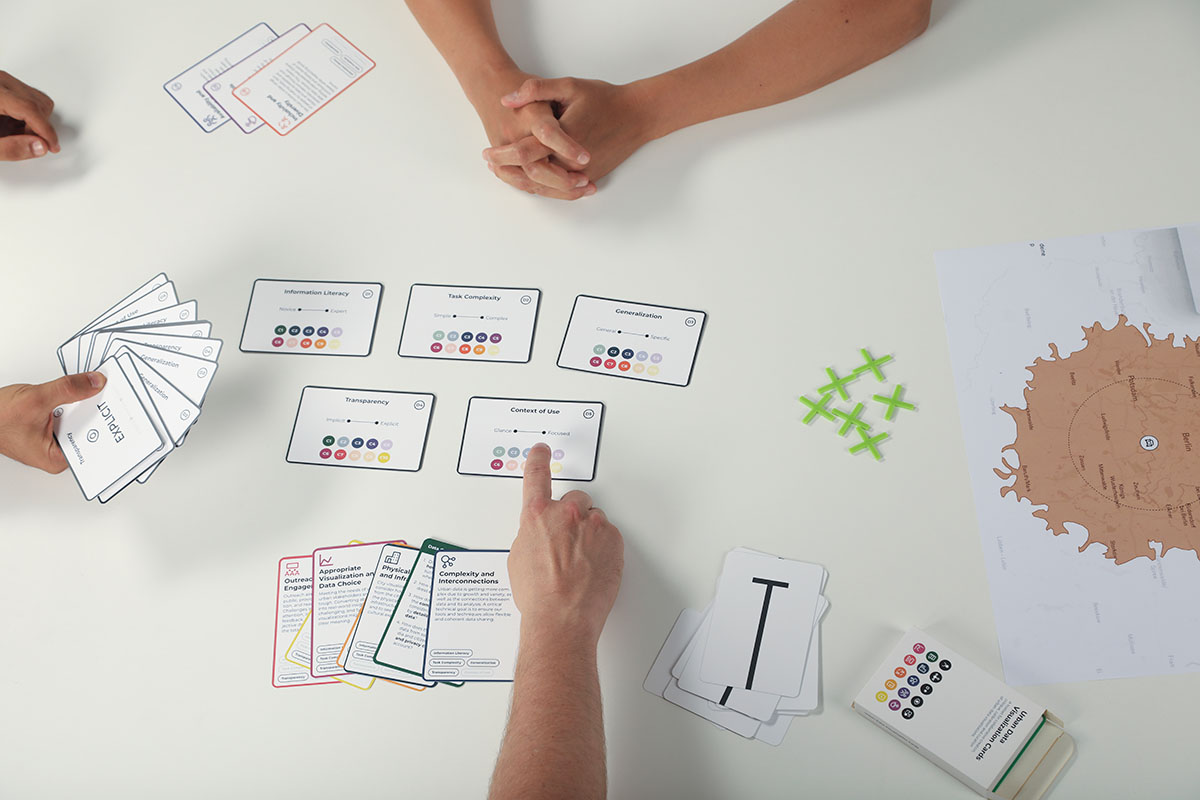
5. Scale setup
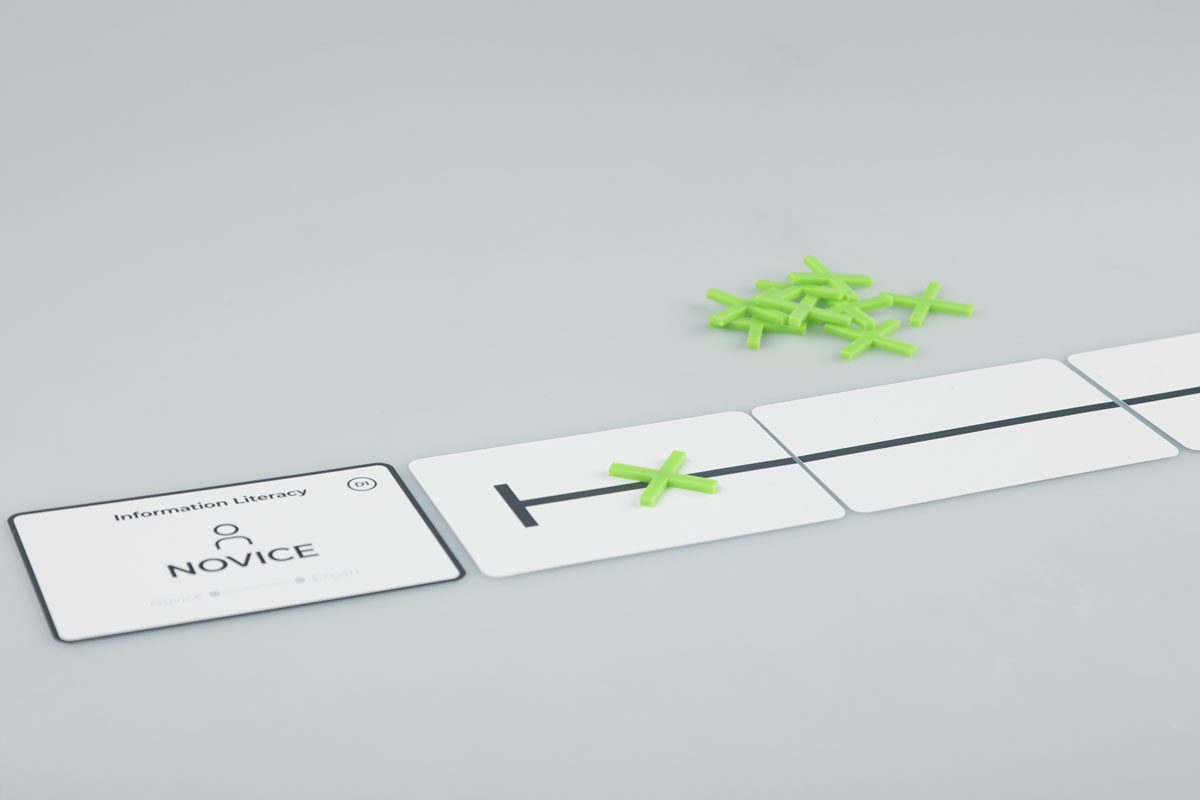
The groups set up the dimension scales for the selected dimensions. In this activity setup the scale cards without crosses. Put the extremes on each side. If you have enough space put the description card of the dimension next to it as backup.
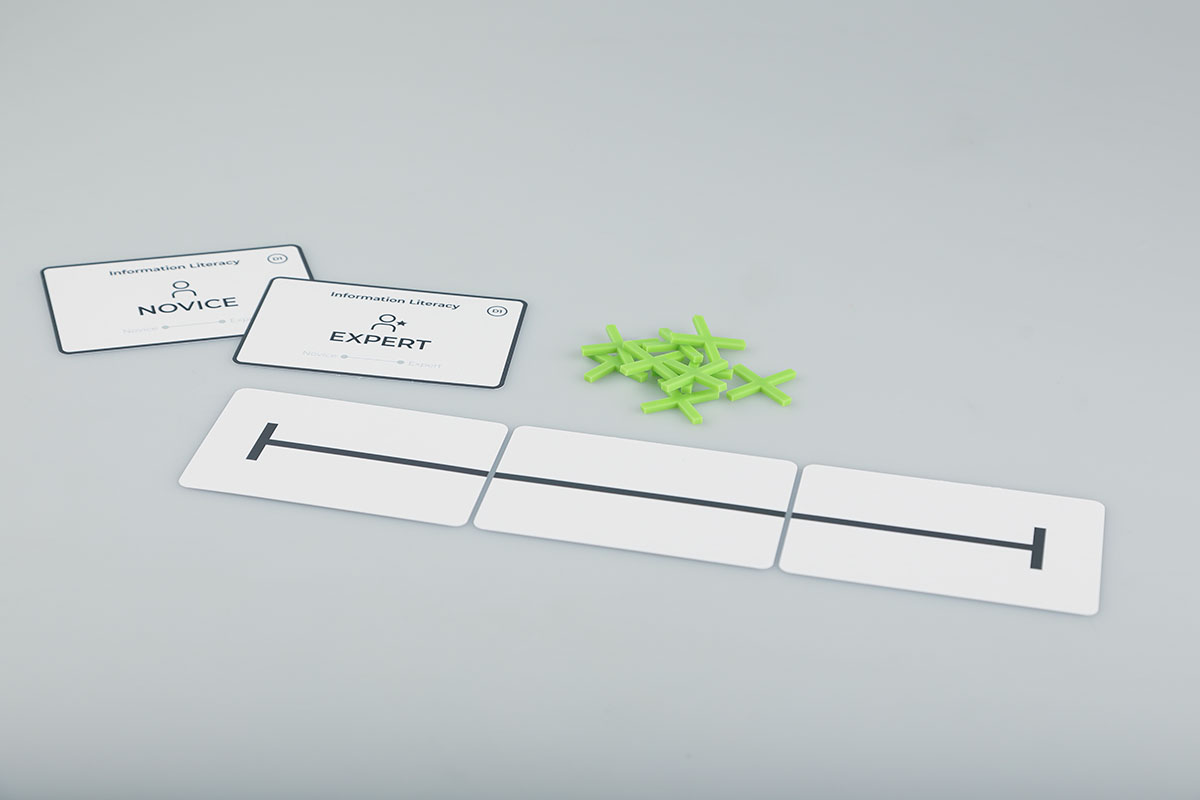
6. Strength and Weaknesses
In regards to the selected dimensions (previous step), discuss the weaknesses and strengths of the visualisation.
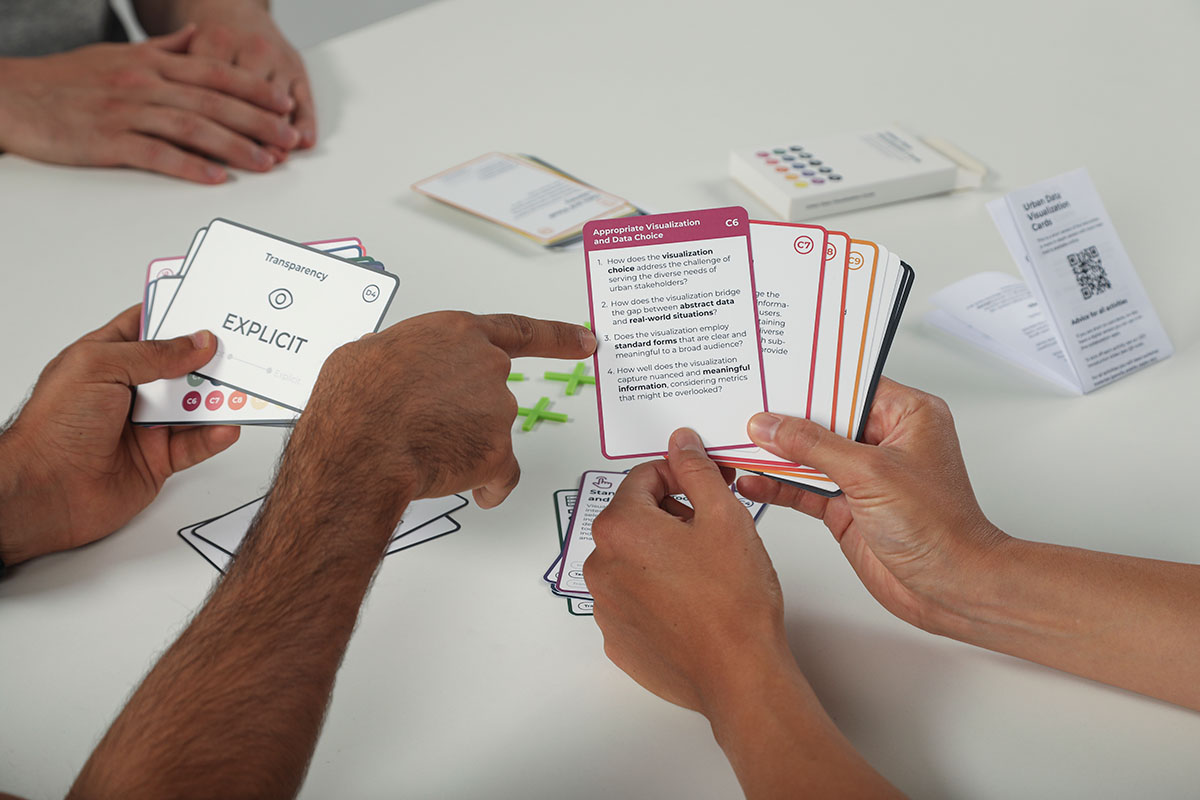
7. Reflection cards
To inspire the ideation process, each group goes through the reflection cards, that are relevant for the selected dimensions. On the dimension overview cards the colored circles highlight which consideration cards are relevant for each dimension.
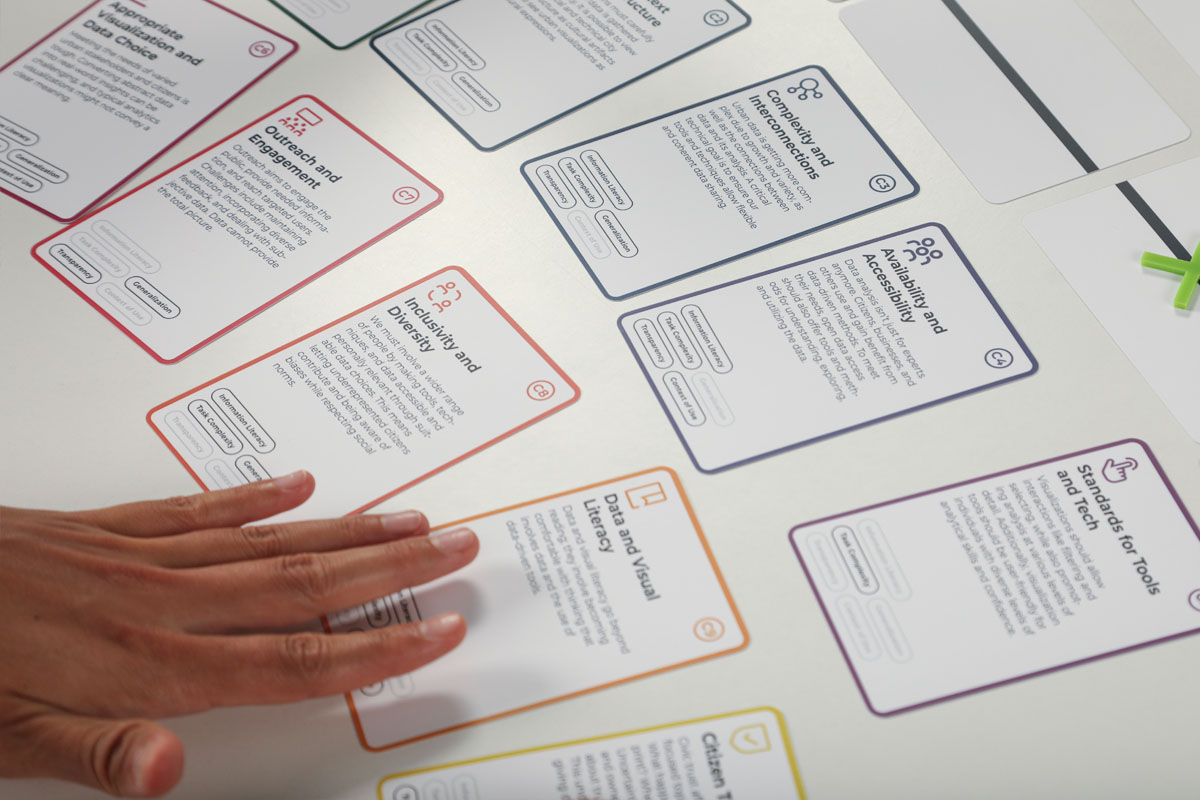
8. Mark findings
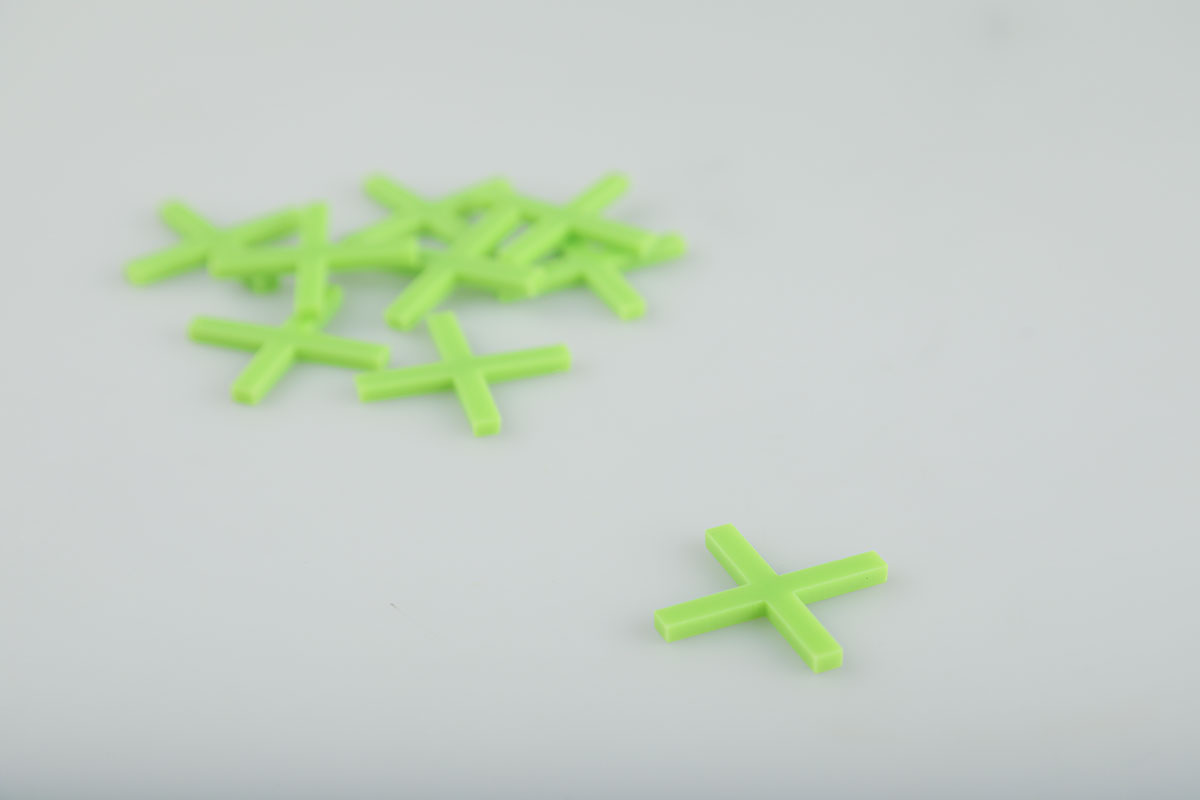
Use the green markers (X) on the dimension axis to indicate the weaknesses and strengths.
9. Presentation of results
To finish up, each group presents the results to each other and discuss the outcomes of the workshop. Taking either video recordings or photos and audio recordings helps documenting the thoughts that go into each concept.
Next Step
If you want to improve the vis based on the identified characteristics, use the Calibrate activity. If you want to use this as a starting point to develop a new visualisation, use the Create activity.
